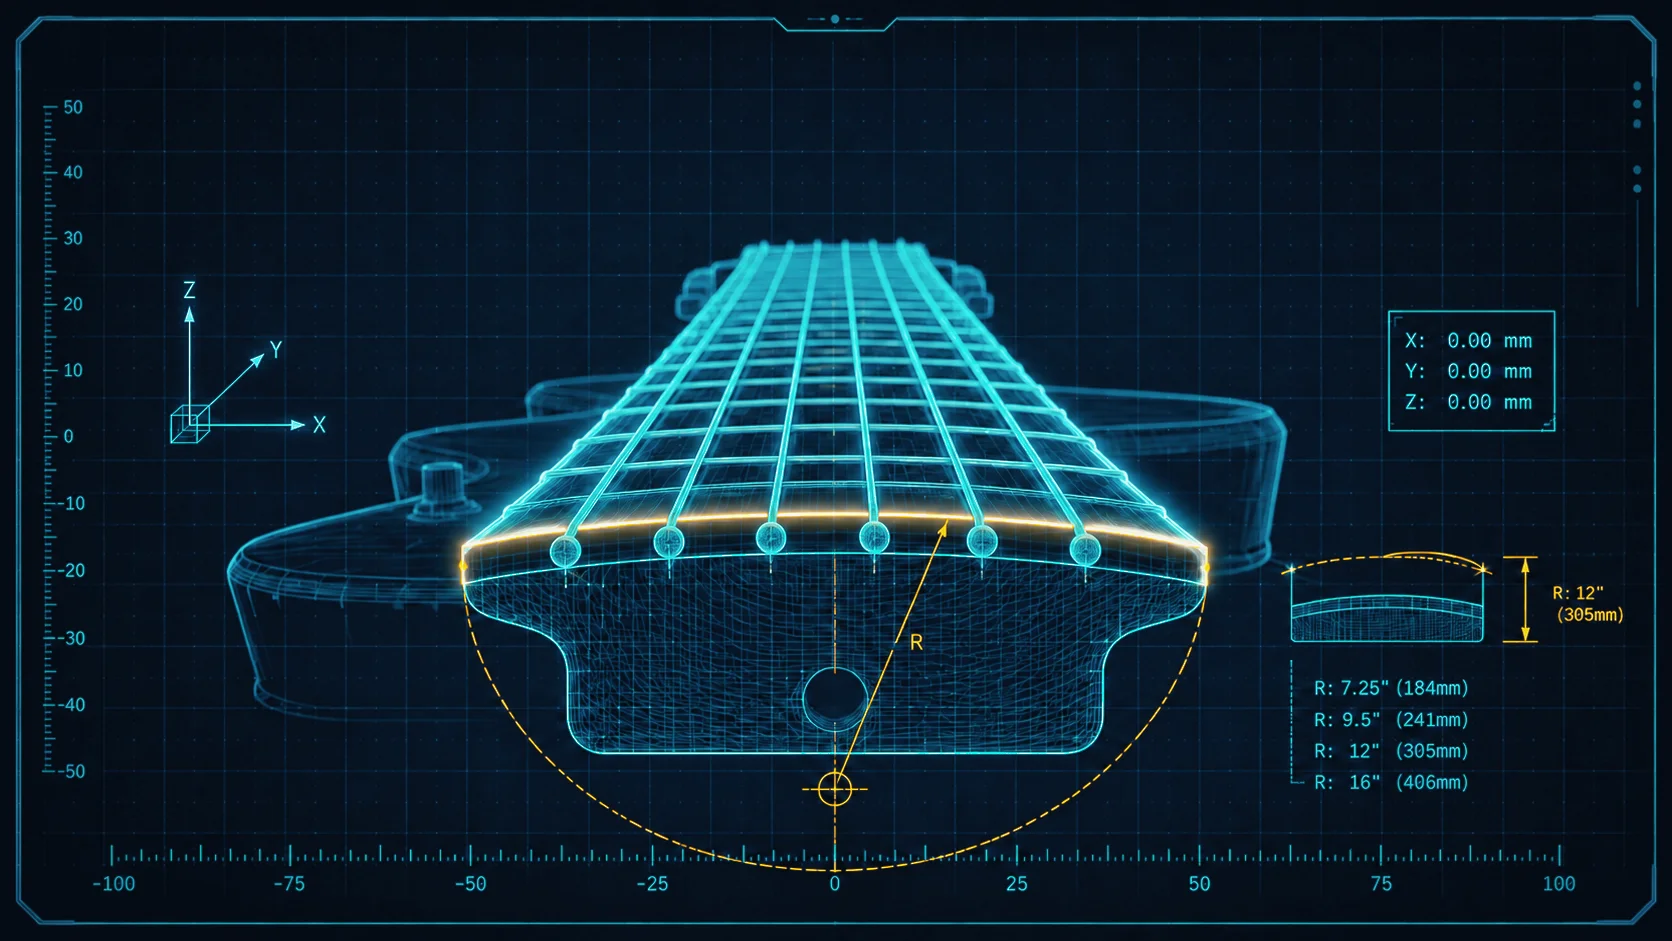
Your fretboard is curved. Your saddles should follow that curve. Enter your radius and bridge spread to get the per-string offsets.
Your Setup
Fretboard Radius Matcher
Enter your radius and bridge string spread. The offsets below tell you how much lower each outer string should sit relative to the center strings — so your action follows the curve of your board.
inches
inches
Display Unit
Fretboard arc — string positions to scale
These are relative offsets, not absolute heights. The center strings (3 & 4) are the reference point — shown as 0. Each outer string sits that much lower so your action follows the curve of the board. Use the Action Calculator to set your absolute target height first, then apply these offsets.
#Stringmm lowerthou lower
🎸 Roady Hint — How to Measure
If you are not sure of your radius, pick the preset that matches your guitar make and model — that gets you close enough for a starting point. You can always dial in a custom value if you have a radius gauge handy.
Measure the bridge string spread from the center of the Low E saddle to the center of the High E saddle. This is the number that goes in the spread field — not the nut width.
⚠ Fixed-Bridge Note
These offsets are fully actionable on individually adjustable saddles — Strat, Tele, Floyd Rose, most modern bridges. You can set each string independently.
On a fixed-radius bridge like a Tune-O-Matic (Gibson/Gibson-style), the saddle radius is set at the factory to ~12″. This tool is informational only for those guitars — it tells you what the factory already aimed for, but you cannot dial individual strings without swapping saddles.
That's your starting arc
The radius sets the shape of your saddle arc. The Action Calculator sets how high the whole arc sits. Run both and your bridge is dialled in.