Fender 6-Saddle Bridge Guide
Precision Tuning for Strat, Tele, and Modern Hardtails
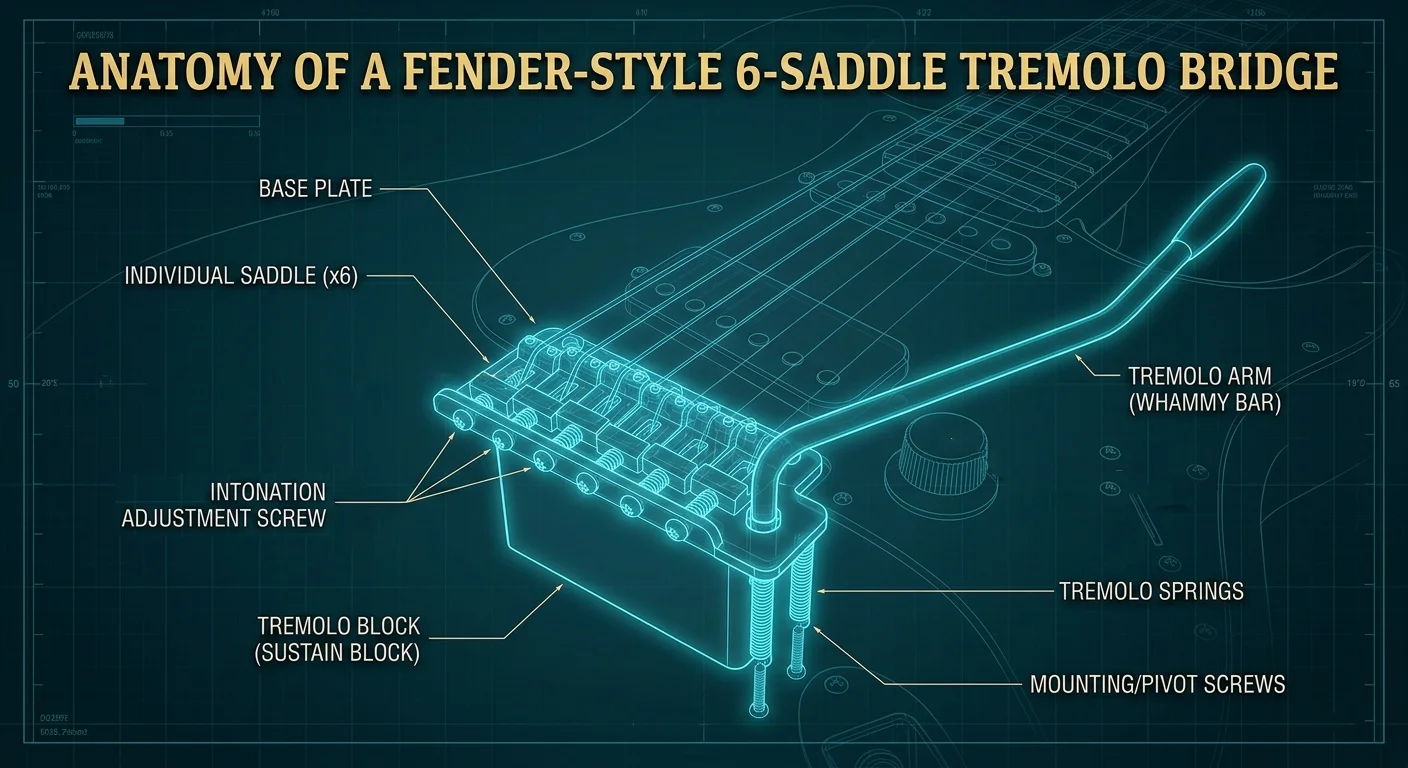
A 6-saddle bridge gives you more control than a vintage 3-saddle design. Each string gets its own saddle, which makes setup and intonation more precise. That extra adjustability is helpful, but it also means there are a few more moving parts to keep an eye on.
The good news is that the process is still very manageable once you know what to check first.
Start with the basics
Before you adjust anything, make sure the bridge is sitting properly and the saddles are level. Each saddle should be supported evenly by its two height-adjustment screws.
If a saddle is leaning, it can create uneven pressure and lead to strange buzzing or unstable behavior. A small problem here can make the whole bridge feel more difficult than it really is.
Watch for spring bind
Sometimes a saddle does not move as expected when you turn the screw. When that happens, the issue may not be the saddle itself — it may be spring bind or friction in the bridge hardware.
If the saddle feels stuck, do not force it immediately. Check whether the hardware is actually moving freely before assuming the setup is wrong.
In some cases, a tech may trim a few coils from the tension spring to give the saddle more travel. That can help the bridge move more freely.
But this is a permanent hardware change, so it should only be done if you are comfortable working on the bridge and you know what you are doing. If not, it is smarter to let a professional handle it.
Set up one string at a time
Intonation is much easier when you work carefully and focus on one string before moving to the next. Before you start, make sure your action is already where you want it, because big changes to string height will affect intonation.
Once the guitar is stable, compare the open string to the fretted 12th fret note.
If the fretted note is sharp, move the saddle back.
If the fretted note is flat, move the saddle forward.
After every adjustment, retune the string and check it again. Small changes matter here, and the guitar will usually tell you pretty quickly when you are close.
If you’d like a little help with this part, the Intonator takes care of the ear work. Play each string and it’ll show you which way the saddle needs to go and how much.
Open the Intonator Tool →If the saddle seems stuck
If the saddle feels like it is not settling properly after an adjustment, give the string a quick tug and recheck the position. Sometimes that is enough to seat everything properly against the bridge plate.
The goal is not to rush through the setup. The goal is to make sure each adjustment actually holds.
Keep the big picture in mind
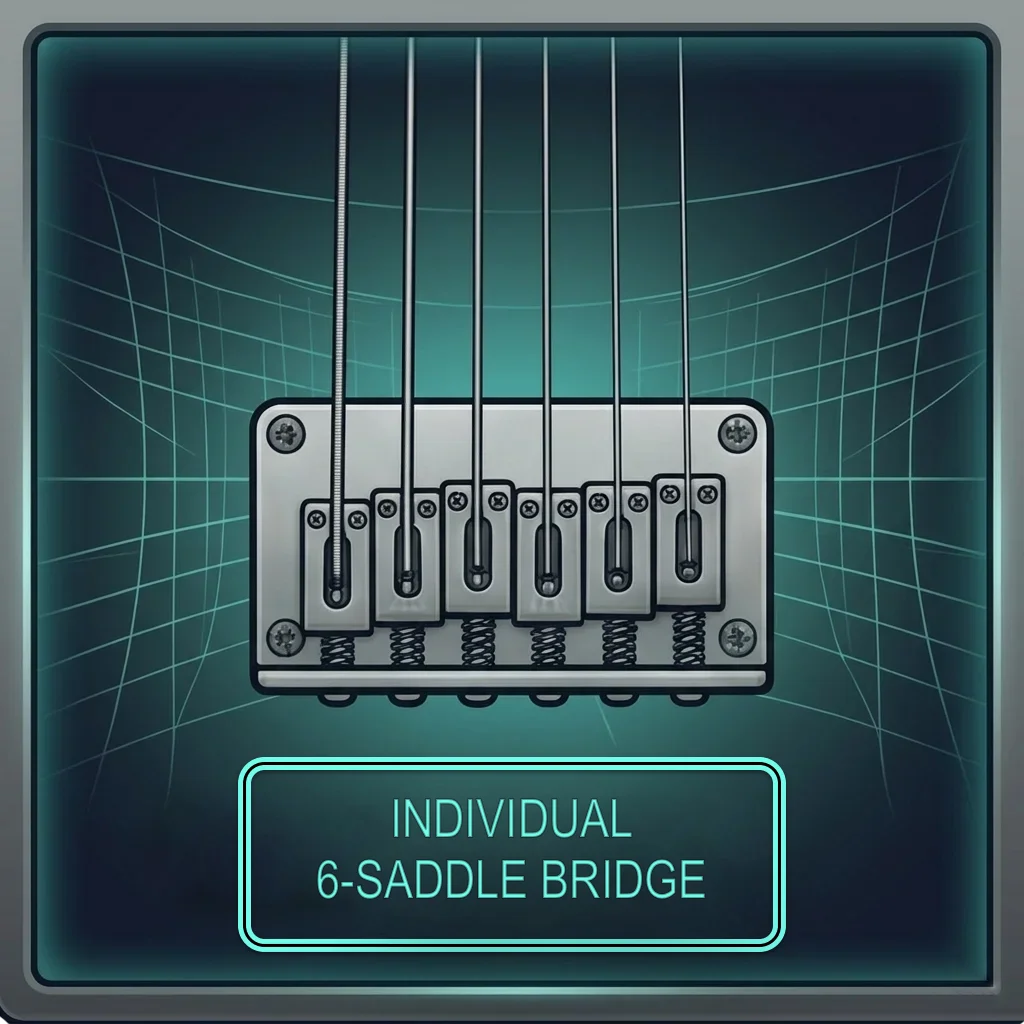
A 6-saddle bridge is more flexible than a vintage bridge, but the same basic idea still applies: get the bridge stable, make sure the hardware moves freely, and then adjust intonation carefully one string at a time.
If you keep the process calm and methodical, the bridge is usually much less mysterious than it first looks.
This is one of those setups where the smartest move is not the fastest move.
Check the hardware first. Set the guitar up in a stable order. Then make the intonation changes slowly and deliberately. That will save you a lot of frustration and a lot of backtracking later.
Related Guides
Different bridge, or want the fundamentals behind all of this? These cover the rest of the picture: