Bridge Guide
Tele 3-Saddle Intonation Guide
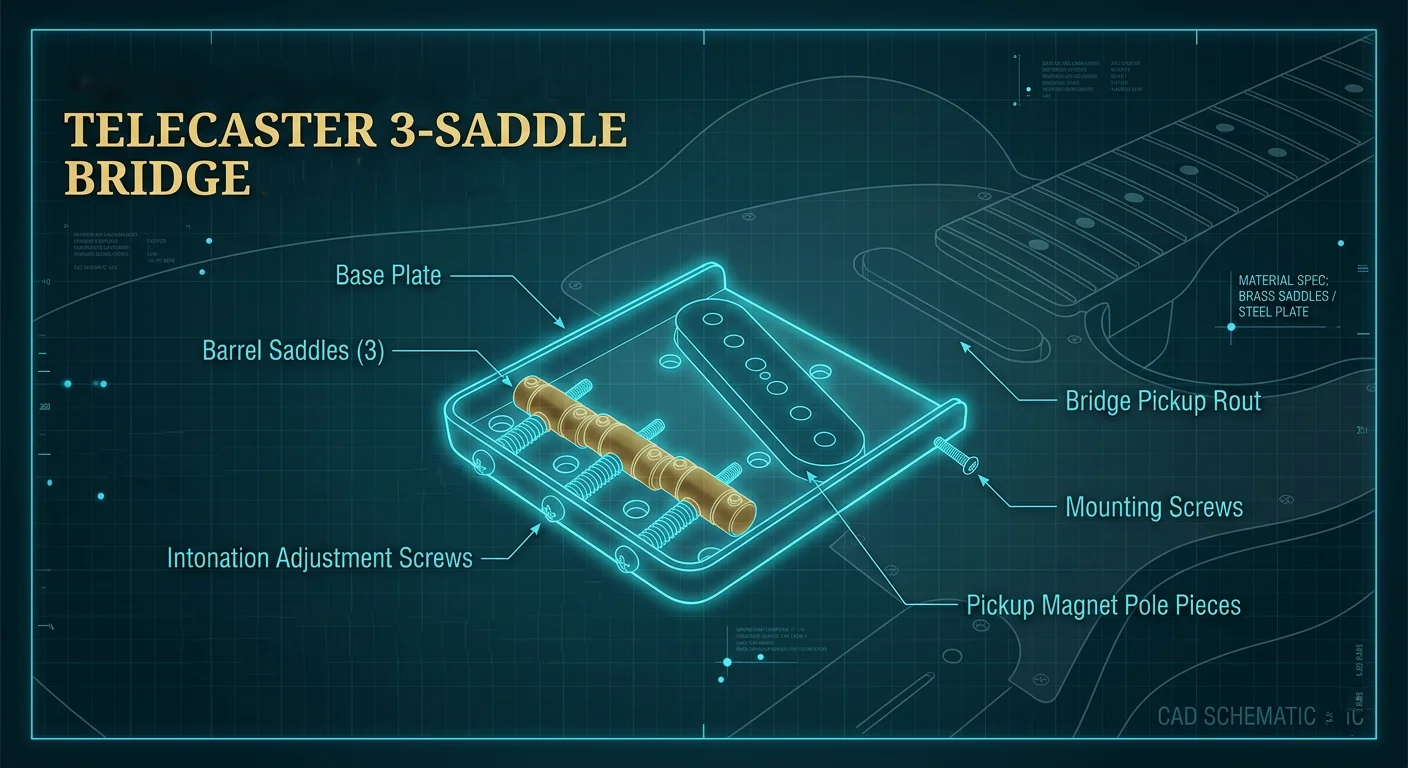
A vintage-style Telecaster bridge is a little different from a modern 6-saddle bridge, but that is part of the charm. Two strings share each saddle, so the goal is not perfect mathematical symmetry — it is the best overall balance you can get for the pair.
What Makes It Different
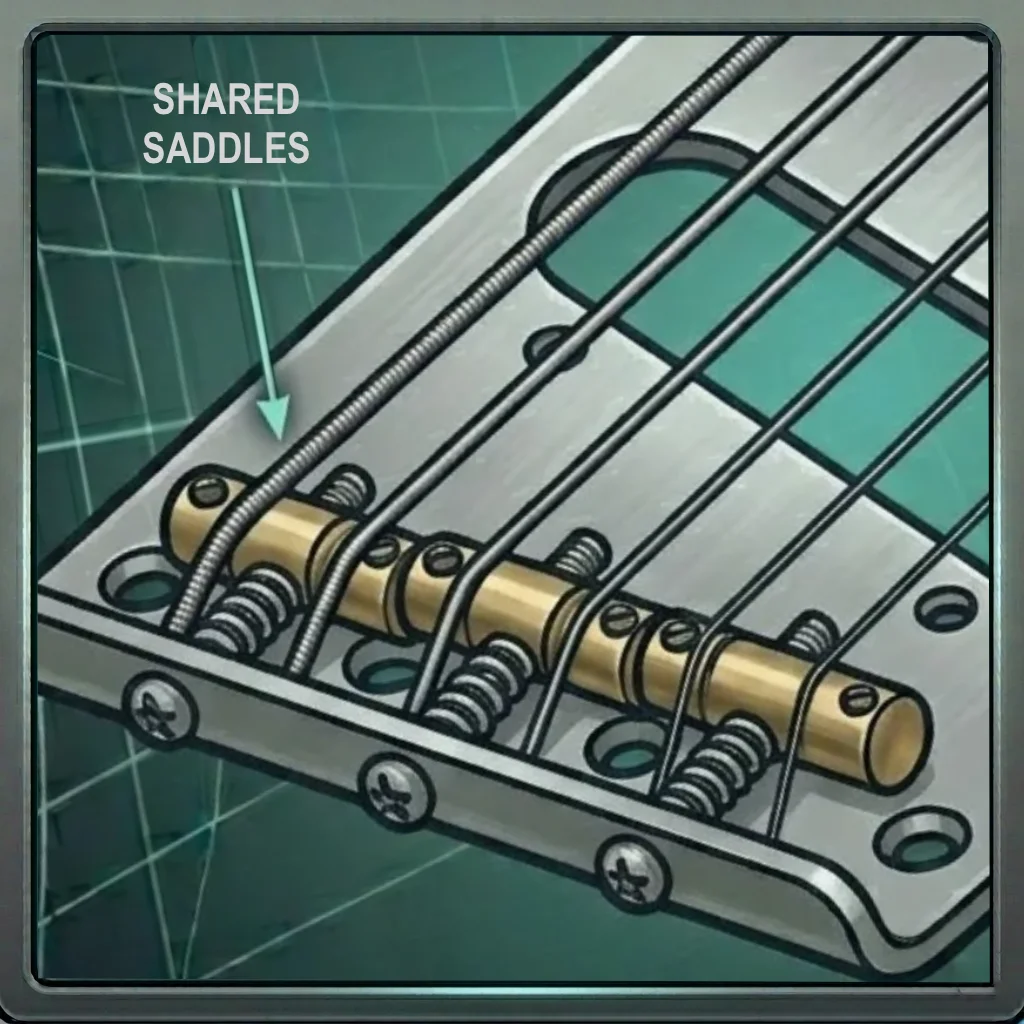
On a 3-saddle Tele bridge, the low E and A share one saddle, the D and G share one saddle, and the B and high E share one saddle. Because those strings move together on the same barrel, intonation becomes a compromise rather than a separate adjustment for every string.
That does not mean it is inaccurate. It just means you are working toward the best balance across the pair instead of forcing both strings to land on the exact same perfect point.
On a 3-saddle bridge, "best overall" is usually a better goal than "perfect on every single string."
Before You Start
Before you adjust anything, make sure the guitar is tuned to pitch and set up in the way you actually play it. If the action changes later, the intonation can shift with it.
Also take a look at the saddles themselves. They should sit securely, and the string should have a clean break point over each barrel. If the saddle is leaning or the string is not seating cleanly, fix that first.
After tuning to pitch, press down firmly with your thumb on the string exactly where it contacts the saddle. This seats the string and creates a clear break point, which prevents tuning from drifting during your measurements.
Check Each Pair
Work on one saddle pair at a time. Compare the open string and the fretted note at the 12th fret for both strings in the pair.
If one string sounds good but the other is slightly off, you are looking for the best compromise. That is normal on this bridge style. The goal is to get the pair close enough that the guitar feels balanced across the neck.
Do not chase one string so hard that you wreck the other one. A good Tele setup is usually a smart compromise, not a sterile lab result.
The Basic Workflow
If the fretted note is sharp, move the saddle back — away from the neck. If the fretted note is flat, move the saddle forward — toward the neck.
Make small moves, then retune and recheck. That part is especially important on a 3-saddle bridge, because each adjustment affects two strings at once.
Tune the guitar to pitch.
Check the action and saddle stability first.
Compare both strings in the pair at the 12th fret.
Move the saddle forward or back based on the pair's balance.
Retune both strings in the pair.
Recheck. Repeat until the pair feels as close and usable as possible.
That is the real Tele bridge workflow. It is less about winning every single note and more about finding the best working balance.
Compensated Saddles
If the compromise feels too extreme for your playing style, compensated saddles are a good option. These saddles are shaped or angled to help reduce the intonation tradeoff between paired strings while still keeping the classic Tele look.
They are not magic, but they can make the bridge easier to live with if your current setup is fighting you.
Closing Note
A 3-saddle Tele bridge rewards a calm hand and a realistic goal. Once you stop expecting each string to behave like it has its own saddle, the setup gets much easier to understand.
If the compromise still feels too wide for your taste, compensated saddles can make a real difference without changing the character of the guitar.
Next Step
Use the Intonator Tool to check each pair as you go. If you are still dialing in the setup, make sure action and tuning are settled first, then return to intonation for the final pass.
Not sure if you actually have an intonation problem? The Guitar Setup Assistant can help you figure out where to start — it walks you through the most common setup issues so you know what to tackle first.
Ready to check your intonation?
Open the Intonator Tool →