Practice Guide
How to Stop Accidental String Noise
String noise is usually a muting problem, not a playing problem. Learn how to quiet the strings you are not using so your notes stay clear and focused.

Have you ever recorded yourself playing a riff, turned up the gain, or played through a clean amp only to hear a constant haze of extra noise around every note? Open strings ring out when they should be silent, bass strings drone under high-string lines, and the whole part feels less focused than it should. That can make even a good performance sound messy.
The good news is that string noise is usually a muting problem, not a talent problem. Clean playing is not just about hitting the right notes — it is about controlling the strings you are not using. Once you learn how to mute more intentionally, your playing starts sounding much more polished.
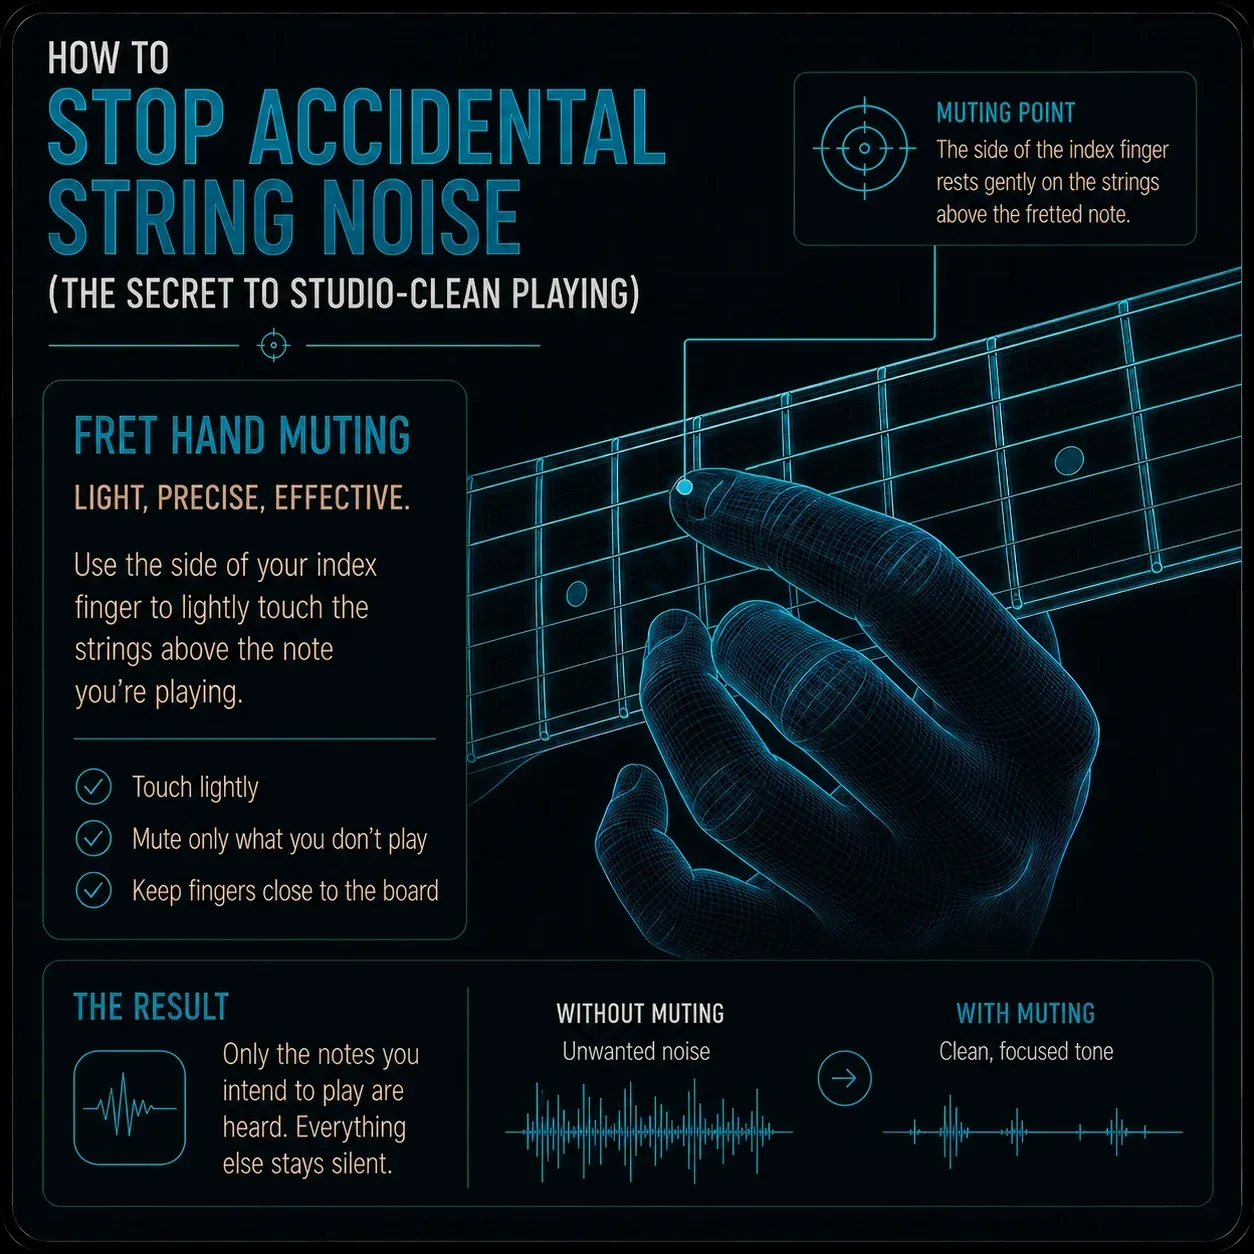
Use left-hand muting
Your fretting hand should help keep nearby strings quiet while you play. When you are on a single-note line, the fingertip can press the target note while the rest of the finger gently touches surrounding strings. That keeps stray notes from ringing out between phrases.
This is especially helpful on lead lines, where the goal is often one clean note at a time. The hand is not just fretting notes — it is also managing silence. That small shift in thinking can make a huge difference.
Use right-hand muting
Your picking hand is especially useful for controlling the lower strings. The edge of the palm can lightly rest near the bridge so the low strings stay quiet while you play higher strings. That helps reduce sympathetic ringing and keeps the tone tight.
This is one of the most important habits for clean guitar playing. If the low strings are not managed, they can cloud up even a very accurate riff. A light, controlled palm position often solves more noise than expected.

Release notes cleanly
A lot of unwanted noise happens when fingers lift too suddenly. If you pop off a string with too much motion, you can accidentally create a little extra sound as the string snaps back. That can make transitions sound less controlled than they should.
Instead, relax the pressure and let the note stop cleanly. The idea is to silence the string without creating a new sound in the process. That is one of those small habits that separates tidy playing from noisy playing.

Slow practice exposes noise
Noise is much easier to hear when you slow the tempo down. At fast speeds, extra rings can hide inside the blur. At slower speeds, every unwanted string becomes obvious.
That is where the Micro-Groove Metronome helps. Slower, controlled practice makes it easier to hear which string is ringing too long or which finger is not muting properly. Once you can hear it clearly, you can fix it much faster.
Slow practice is where noise gets caught. Open the Micro-Groove Metronome and work through your lines at a tempo where every string is obvious.
Open the Metronome →
Train your ear for noise
The more your ear improves, the faster you notice when a note is not clean. Sometimes the first sign of a problem is not visual — it is auditory. You hear the extra ring before you fully understand where it came from.
That is why the Guitar Ear Trainer is useful here too. It helps sharpen your listening so you can recognize unwanted noise earlier and build cleaner habits faster. A better ear usually leads to quieter, more controlled playing.

Use the overlay
Instead of guessing where each string should be silent, the Scale & Arpeggio Overlay lets you see the active notes and the surrounding fretboard space more clearly. That makes it easier to plan your muting before you even play.
When the fretboard is visualized well, the muting plan becomes much easier to understand. You are not just reacting to noise — you are designing clean lines from the start.

Want to see where the notes are and where the silence should be? Open the Scale & Arpeggio Overlay to visualize your lines in real time.
Open the Overlay →The Pocket Roady order
Here is the simplest workflow — start at the top and work your way down:
Use left-hand muting for nearby strings. The fingertip frets, the rest of the finger manages silence.
Use right-hand muting for the low strings. A light palm near the bridge keeps the bottom quiet.
Release notes without popping them off. Let the pressure relax rather than lifting suddenly.
Practice slowly with the Micro-Groove Metronome. Every noisy string becomes obvious at low tempo.
Train your ear to catch noise early. The Guitar Ear Trainer sharpens the listening that muting depends on.
Open the Scale & Arpeggio Overlay to visualize the line and plan your muting zones before you play.
Clean playing is mostly about quieting the strings you do not intend to hear.

Where to go next
If your guitar tone sounds messy, the solution is usually not more force. It is better muting on both hands and a slower, more deliberate practice pace.
Want to see where the notes are and where the silence should be? Open the Scale & Arpeggio Overlay to visualize note targets and clean playing zones in real time.